Optical Drive (on selected models)
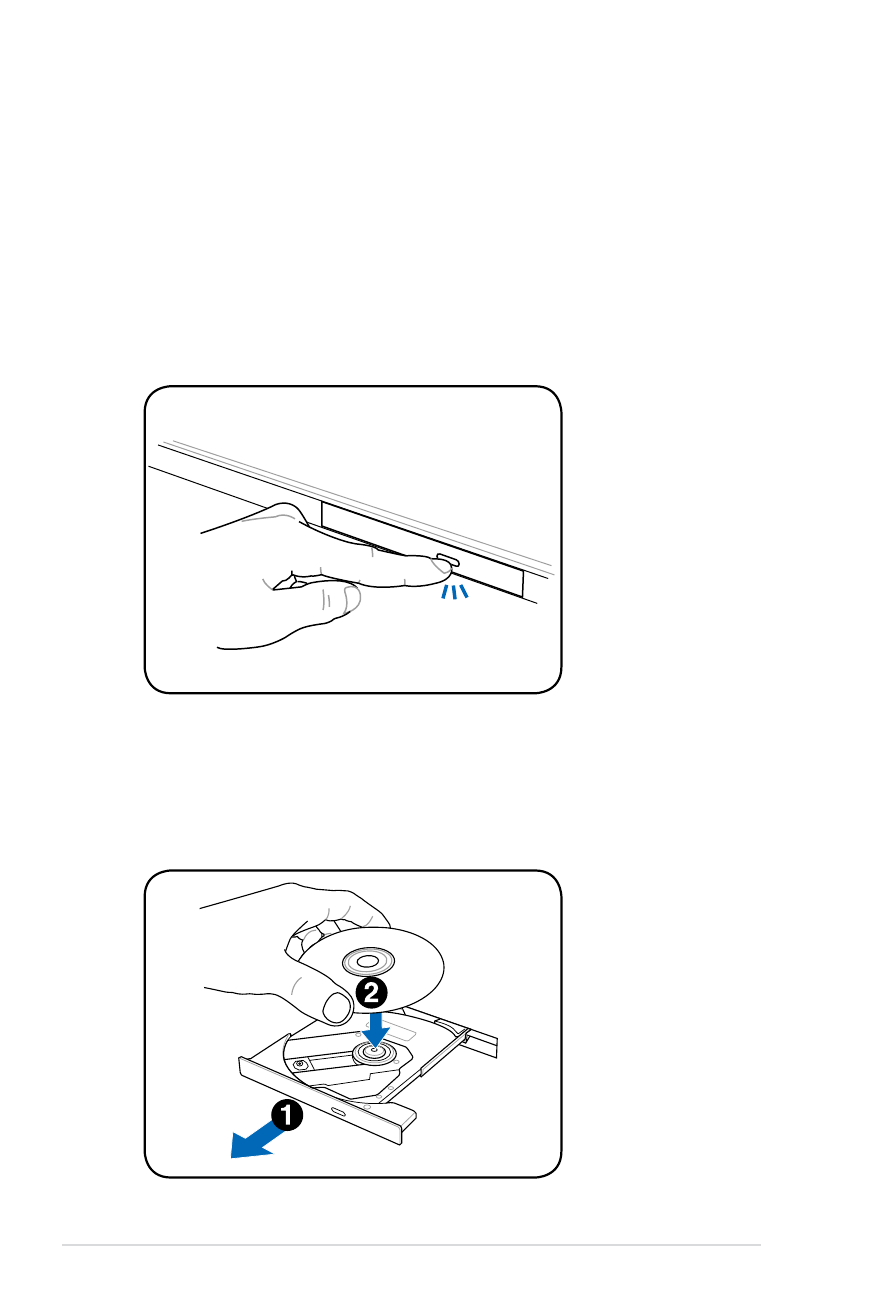
Inserting an optical disc
1. While the Notebook PC’s power is ON, press the drive’s eject
button and the tray will eject out partially.
2. Gently pull on the drive’s front panel and slide the tray
completely out. Be careful not to touch the CD drive lens and
other mechanisms. Make sure there are no obstructions that
may get jammed under the drive’s tray.
Notebook PC User Manual
59
3. Hold the disc by the edge and face the disc’s printed side up.
Push down on both sides of the disc’s center until the disc snaps
onto the hub. The hub should be higher than the disc when
correctly mounted.
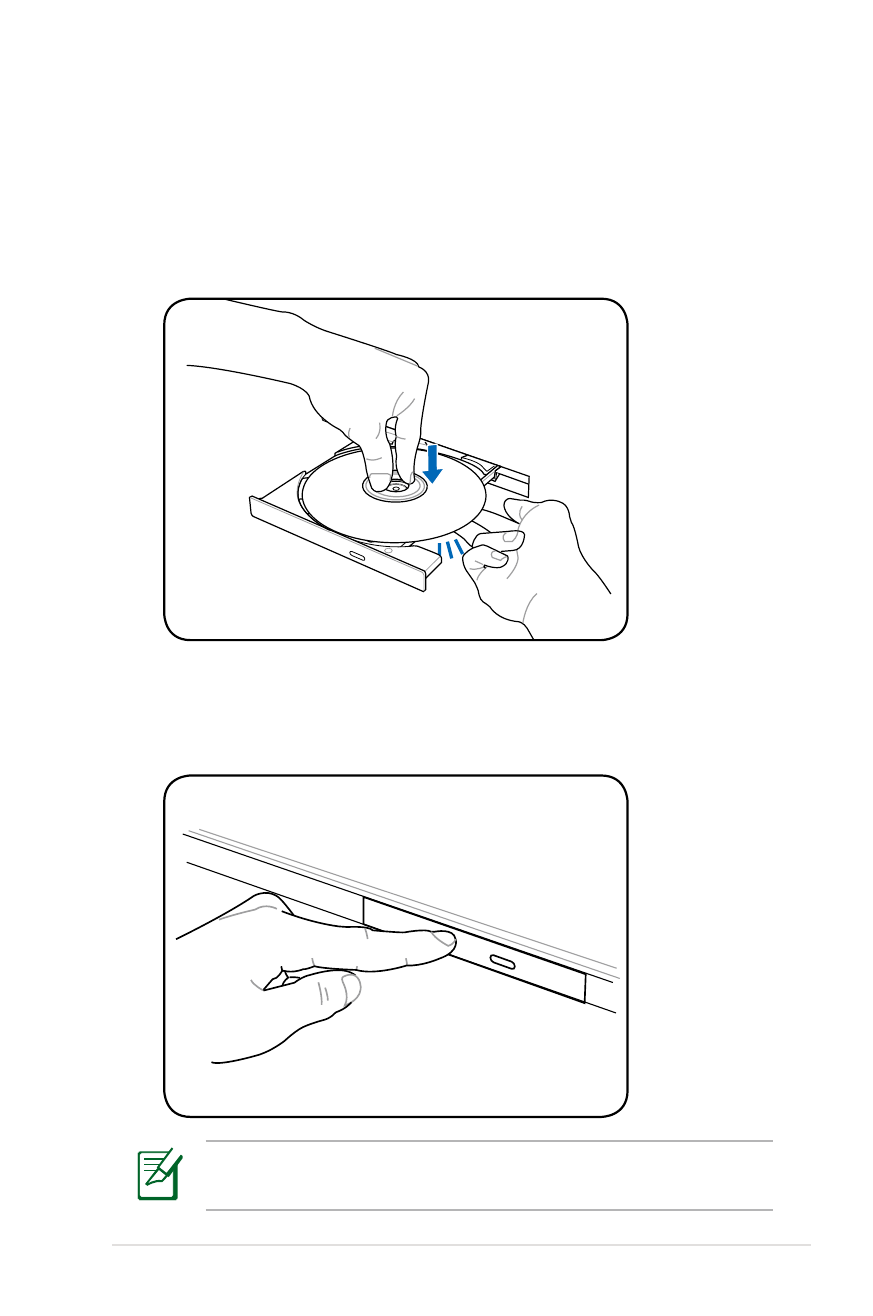
4. Slowly push the drive’s tray back in. The drive will begin reading
the table of contents (TOC) on the disc. When the drive stops,
the disc is ready to be used.
It is normal to hear as well as feel the CD spinning with great
intensity in the CD drive while data is read.
60
Notebook PC User Manual
Actual location will vary
by model.
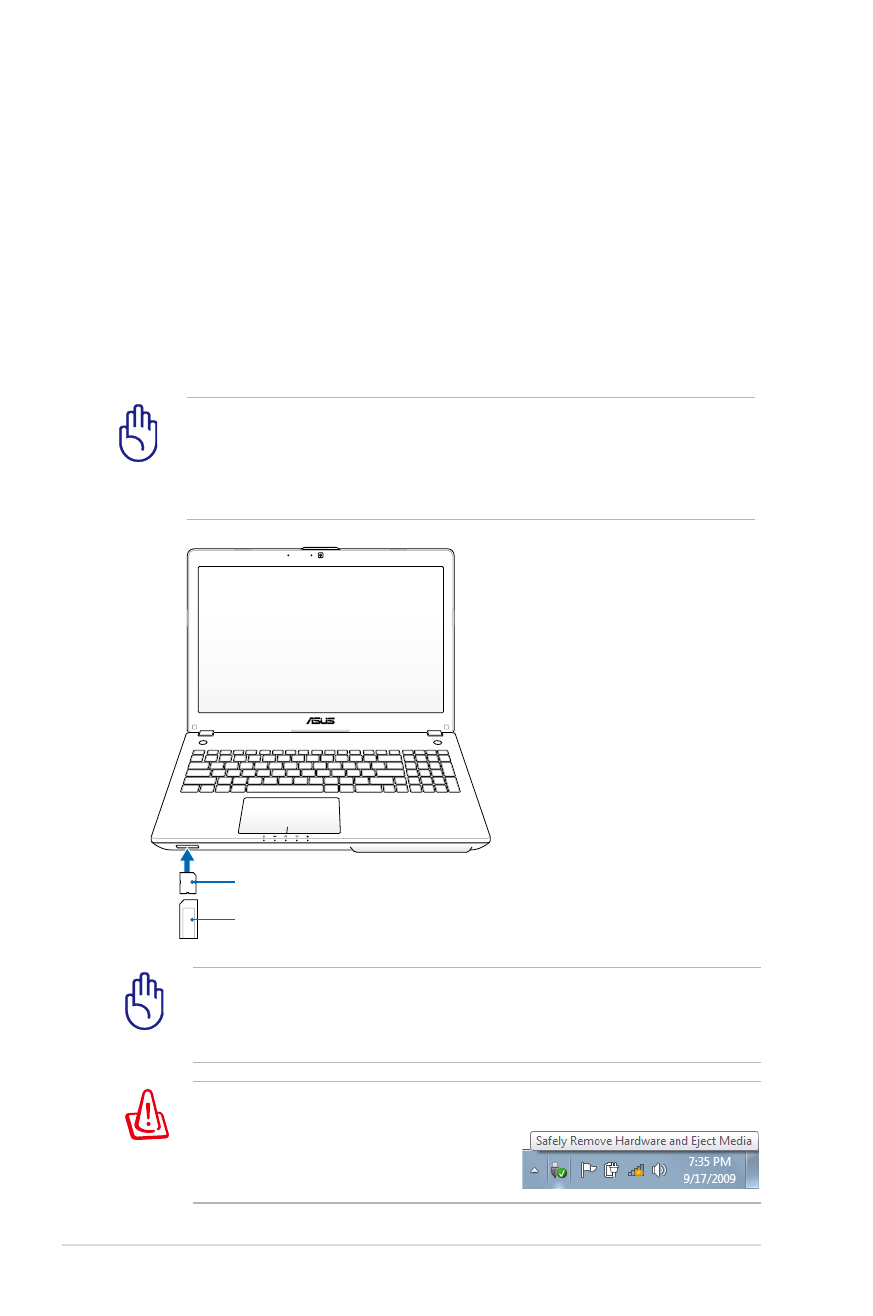
Emergency eject
The emergency eject is located in a hole on the optical drive and is
used to eject the optical drive tray in case the electronic eject does
not work. Do not use the emergency eject in place of the electronic
eject.
Ensure not to stab the activity indicator located in the same area.
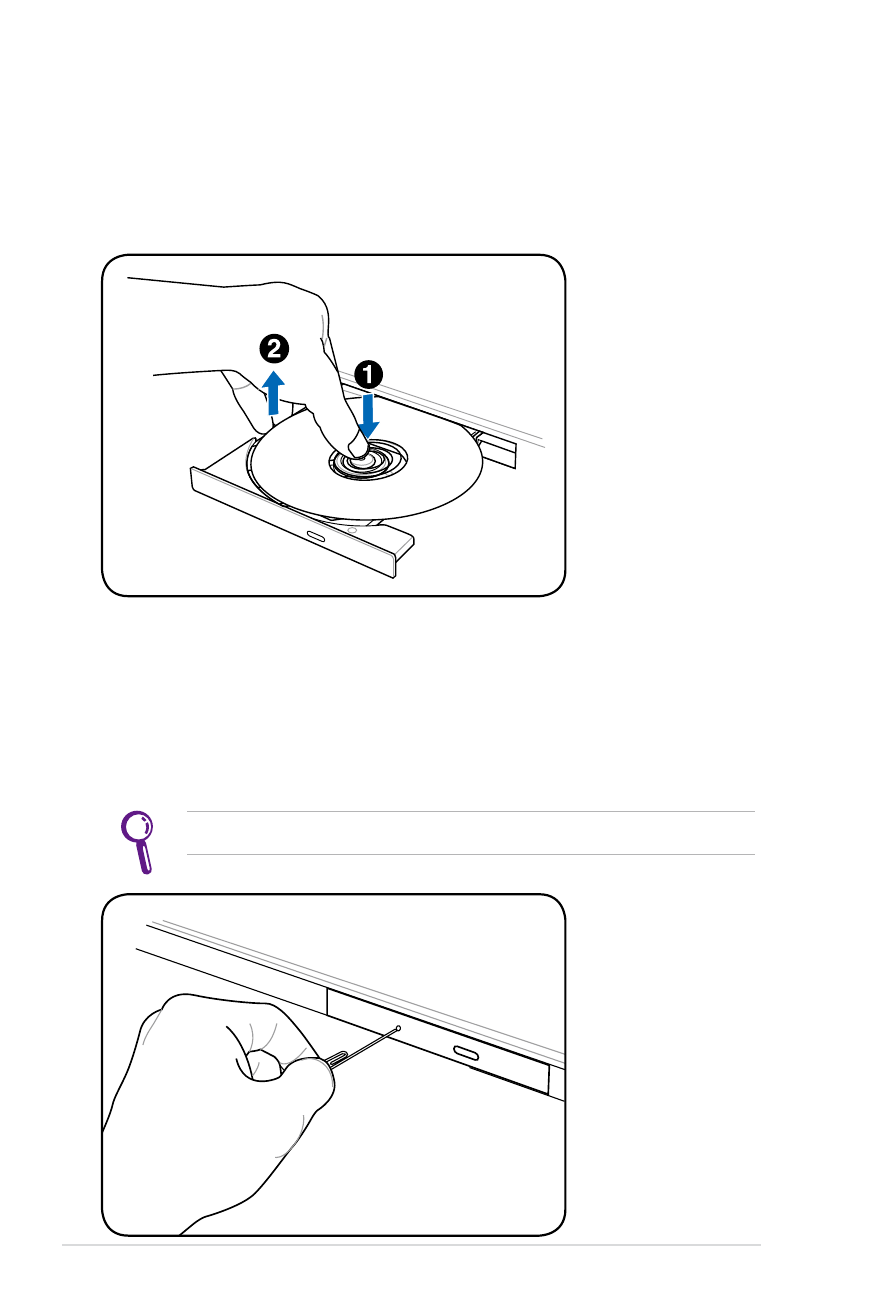
Removing an optical disc
Eject the tray and gently pry the edge of the disc upwards at an
angle to remove the disc from the hub.

Notebook PC User Manual
61
A CD drive letter should be present regardless of the presence of a
CD disc in the drive. After the CD is properly inserted, data can be
accessed just like with hard disk drives; except that nothing can be
written to or changed on the CD. Using the proper software, a CD-
RW drive or DVD+CD-RW drive can allow CD-RW discs to be used
like a hard drive with writing, deleting, and editing capabilities.
Vibration is normal for all high-speed optical drives due to
unbalanced CDs or CD print. To decrease vibration, use the Notebook
PC on an even surface and do not place labels on the CD.
Listening to Audio CD
The optical drives can play audio CDs, but only the DVD-ROM drive
can play DVD audio. Insert the audio CD and Windows automatically
opens an audio player and begins playing. Depending on the DVD
audio disc and installed software, it may require that you open a
DVD player to listen to DVD audio. You can adjust the volume using
hotkeys or Windows speaker icon in the Notification area.
WARNING! If the CD disc is not properly locked onto the center
hub, the CD can be damaged when the tray is closed. Always
watch the CD closely while closing the tray slowly to prevent
damage.
Using the Optical Drive
Optical discs and equipment must be handled with care because of
the precise mechanics involved. Keep in mind the important safety
instructions from your CD suppliers. Unlike desktop optical drives,
the Notebook PC uses a hub to hold the CD in place regardless of the
angle. When inserting a CD, it is important that the CD be pressed
onto the center hub or else the optical drive tray will scratch the CD.
62
Notebook PC User Manual