Using Recovery DVD (on selected models)
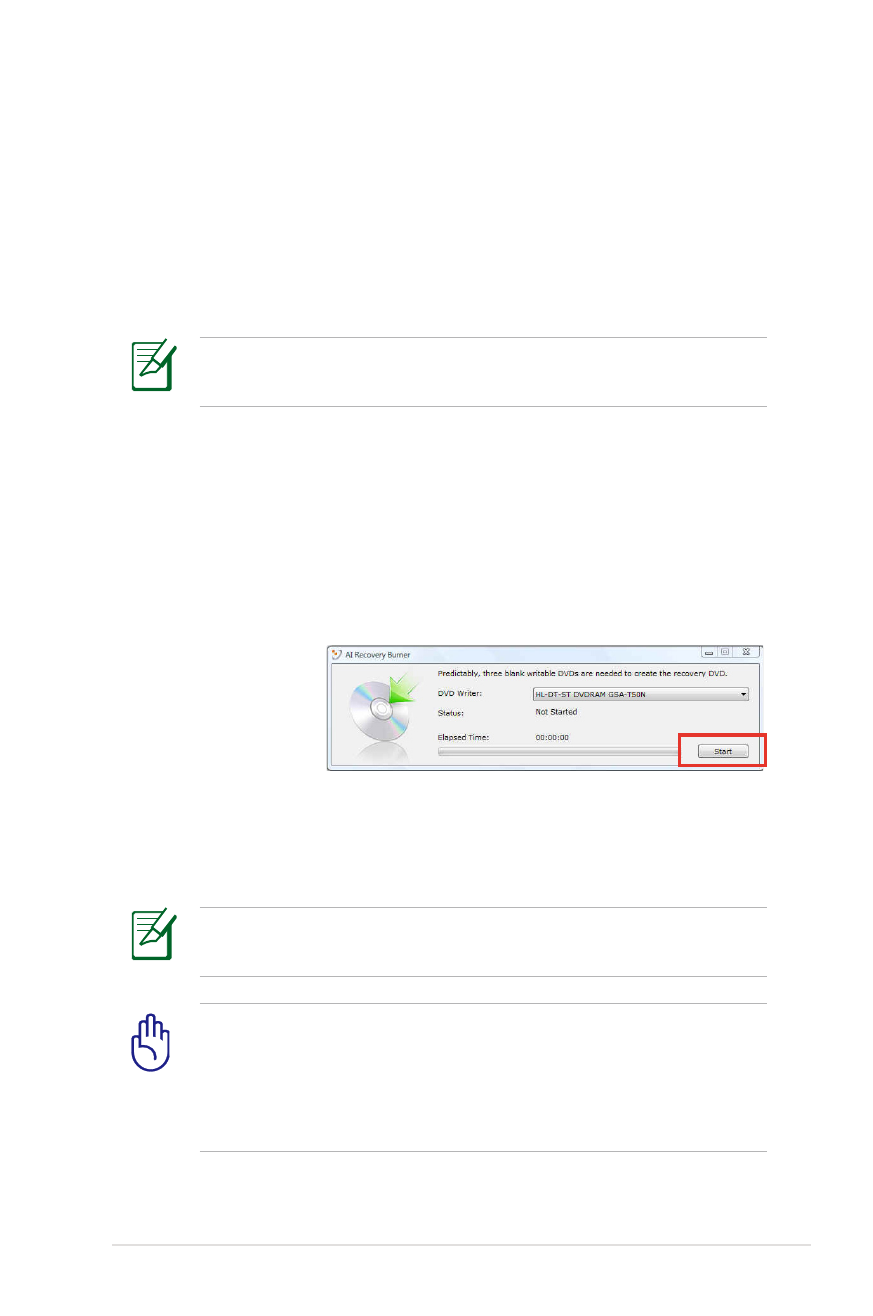
Creating the Recovery DVD:
1. Double-click the AI Recovery Burner icon on the Window
desktop.
2. Insert a blank
writable DVD
into the optical
drive and click
Start to start
creating the
Recovery DVD.
3. Follow the onscreen instructions to complete creating the
recovery DVD.
Prepare enough blank writable DVDs as instructed to create the
Recovery DVD.
IMPORTANT! Remove the external hard disk drive before
performing system recovery on your Notebook PC. According
to Microsoft, you may lose important data because of setting up
Windows on the wrong disk drive or formatting the incorrect
drive partition.

A-18
Notebook PC User Manual
Using the Recovery DVD:
DVD::
1. Insert the Recovery DVD into the optical drive. Your Notebook
PC needs to be powered ON.
2. Restart the Notebook PC and press [Esc] on bootup and select
the optical drive (may be labeled as “CD/DVD”) and press [Enter]
to boot from the Recovery DVD.
3. Select OK to start to restore the image.
4. Select OK to confirm the system recovery.
Restoring will overwrite your hard drive. Ensure to back up all
your important data before the system recovery.
5. Follow the onscreen instructions to complete the recovery
process.
WARNING: DO NOT remove the Recovery disc, unless instructed
to do so, during the recovery process or else your partitions will
be unusable.
Ensure to connect the power adapter to your Notebbook PC
when performing system recovery. Unstable power supply may
cause recovery failure.
Visit the ASUS website at www.asus.com for updated drivers and
utilities.

Notebook PC User Manual
A-19